
Home Capri Literature Parts ascLiterature ascParts Projects/Misc
Home
Capri Literature
Parts
ascLiterature
ascParts
Projects/Misc
![]() 79-86
Center Console Restoration
79-86
Center Console Restoration ![]()
Please excuse the low quality of some of the pictures. I had to try to use fairly high compression to keep the size of this site under control. Please be helpful and send comments here.
Go to part: 1,2,3,4,5,6,7,8,9,10,11
Part 2: WHERE THE #$!*#@$% DID MY PICTURES GO???
Somehow I have no pictures of the disassembly and clean up.
I have no idea how/where they went. My
camera just ate them. I have pictures before the clean up and
pictures after...but the results of the clean up are MIA. I'm
writing this after I completely finished the project, so I can't go back
and take some pics.
THIS SUCKS.
Here's what we're going to do. I can at least disassemble the
console again.
To completely disassemble the console, you need
exactly 2 tools. Wait, make that 3.


A phillips head screwdriver and a 90 degree
phillips head screwdriver and a cordless drill. The only reason you need a 90 degree phillips is for the black hard rubber catch on the console. The
previous owner painted it GREY, because, you know...taping off parts
before painting is obviously for SISSIES. So it had to come off
and be stripped of paint. The cordless drill is for the rear ash
tray housing which is riveted on (see Part 8)
Start by removing the shifter bezel. Pull up on the front,
being careful of those tabs that stick into the console and then pull it
forward to remove it completely.

Remove the console pad/lid.
Remove the screws holding the metal bracket on the console.

Then
remove the metal bracket from the console pad.

There is a metal
plate sandwich between the console and the pad bracket which covers the
rear ash tray from the inside. Pull the bottom towards the front
of the console, let it tip over, fall in and then lift it out.
Remove the screws on the top of the coin tray.

Pull up on the coin
tray, try not to break the plastic tabs sticking down in the middle and
at the front. The middle plastic tabs were already broken off on
this unit. They really do NOT affect the coin tray as it's the
screws at the top and the front tabs that really hold it in place.

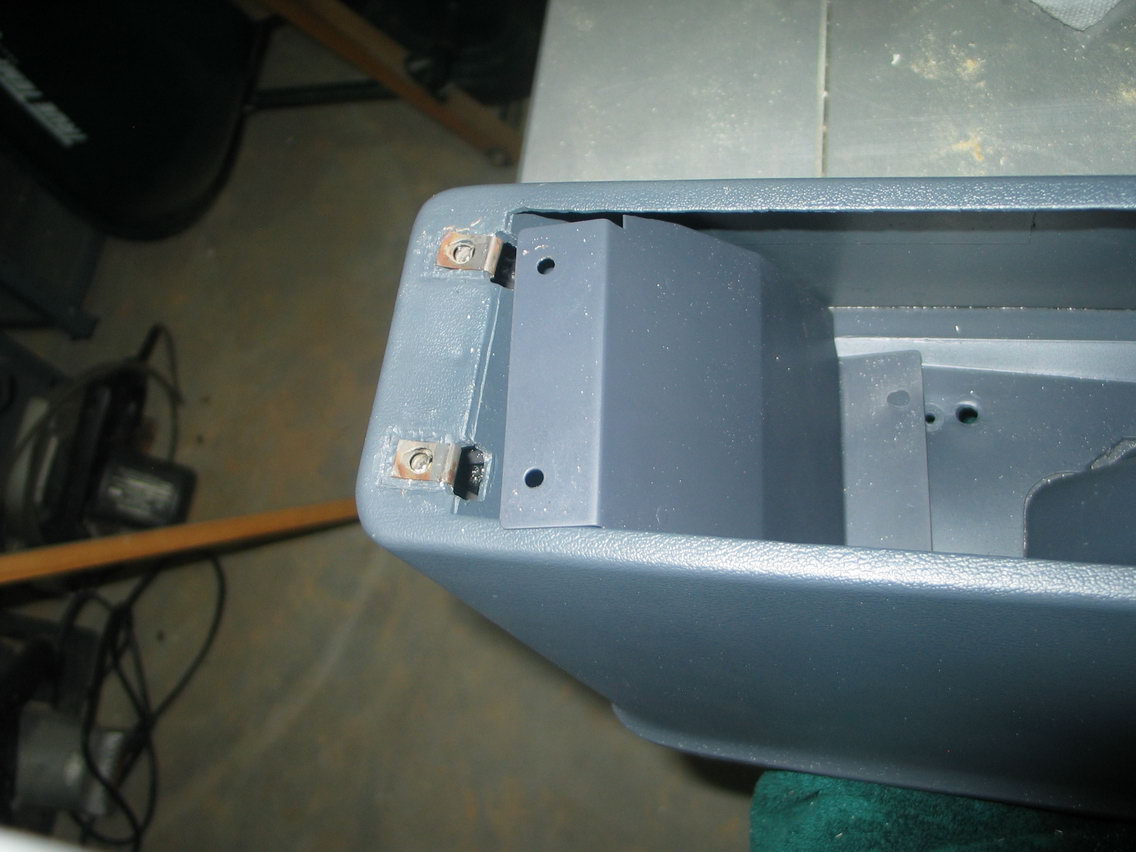
Remove the Console Pad Catch with the 90 degree Philips head
screwdriver.

Open the ash tray door and remove the ash tray.

Remove the
two screws on either side of the ash tray. Lift the ash tray
housing up and out...not too far. You have to pop the wiring off
the end of the cigarette lighter before removing the housing
completely (or disconnect the lighter from the bottom of the console
first).
Remove the top screw. Flip over the console. Remove the
wiring harness bracket at the front of the console.

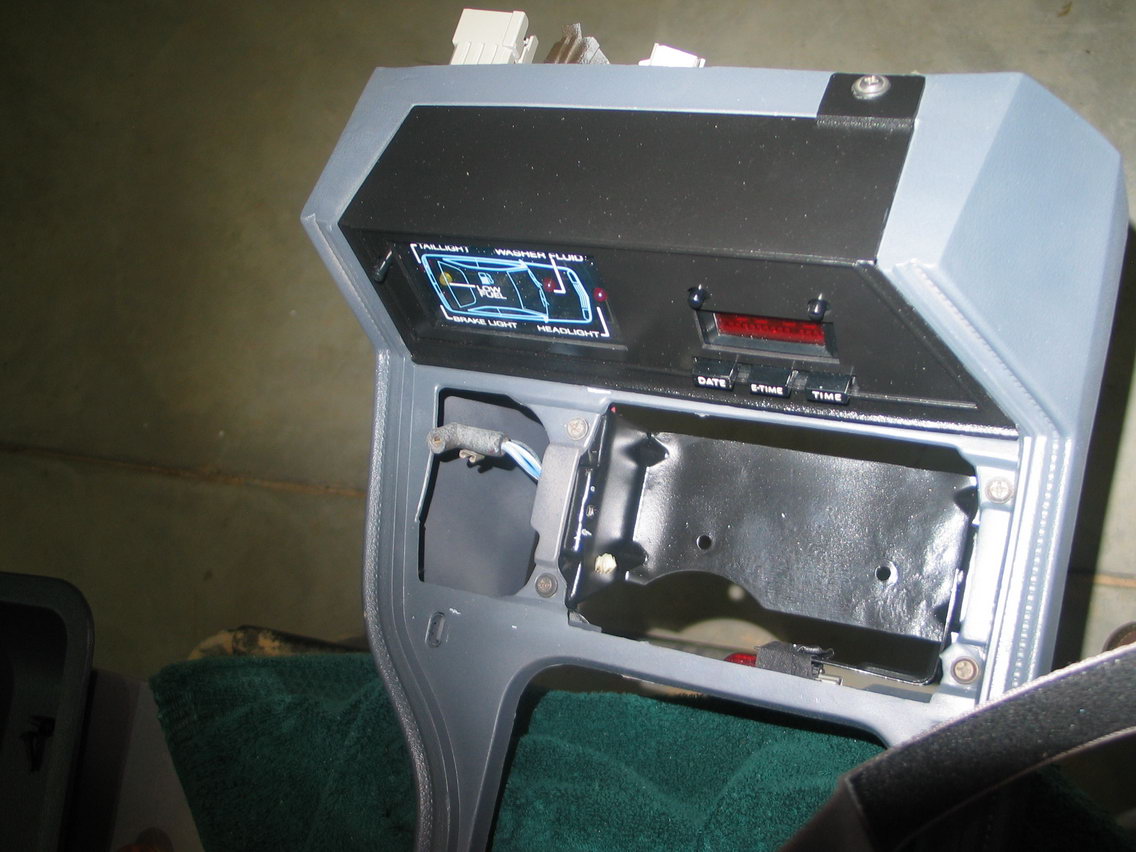
Remove all four screws holding the information center, status model
and information center black bezel together.

Set
the bezel aside, let the status module and clock dangle from the large
metal bracket and flip the console back over.

Remove the 4 screws holding the bracket that sits under the ash tray.
Set the whole thing (bracket, harness, module, clock) aside.

We are left with a shell.

So after
the console is completely disassembled. The first thing to do was
to clean the console hull.
 <-- Your
friend.
<-- Your
friend.
You need simple green. It cuts through all the
nasty things. Take the console to a bath tub. Spray it down
and scrub like heck. Use this:
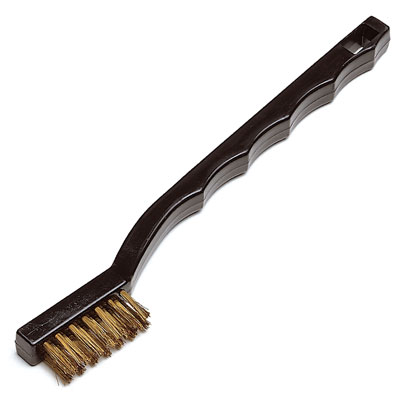
A brass brush
will NOT harm a console you intend to repaint. It will however
agressively go after red and grey paint that a previous owner sprayed
on. If after, scrubbing and scrubbing with simple green, the old
paint won't come off, just leave it. If it sticks hard, it'll stay
stuck. Keep cleaning until the parts are squeeky clean. The
brass brush leaves us a nice finely scuffed hard plastic surface for
painting.
Part
3: Zombie Console Pad!
© 2003-2007 Michael Negus All Rights Reserved.
Send Email to:
info@ascmclarencoupe.com
asc McLaren and Fox Bodied Mercury Capri Cars