
Home Capri Literature Parts ascLiterature ascParts Projects/Misc
Home
Capri Literature
Parts
ascLiterature
ascParts
Projects/Misc
![]() 79-86
Center Console Restoration
79-86
Center Console Restoration ![]()
Please excuse the low quality of some of the pictures. I had to try to use fairly high compression to keep the size of this site under control. Please be helpful and send comments here.
Go to part: 1,2,3,4,5,6,7,8,9,10,11
Part 11:
Final Assembly
A picture of the fasteners needed:

I cleaned them all up and painted them black.
First install
the coin tray (install the pad catch first if you removed it).
Using the two screws with the metal flaring.

Attach the console pad bracket to the pad.

Attach the Pad and Bracket to the console with the bolts with
washers. Don't forget to put the inner metal plate in place!

Next Install the clock and status module along with the black
plastic bezel. This is the trickiest part as you have to jumble
everything around. I found getting the black bezel and the clock
in position first was key. Get the screw on the top of the console
and the screw on the passenger's side to hold the clock in but loose
gave me an easier time to get the status module installed. Once
everything is in place and lined up, tighten the screws. Also
connect the back lights to the status module.

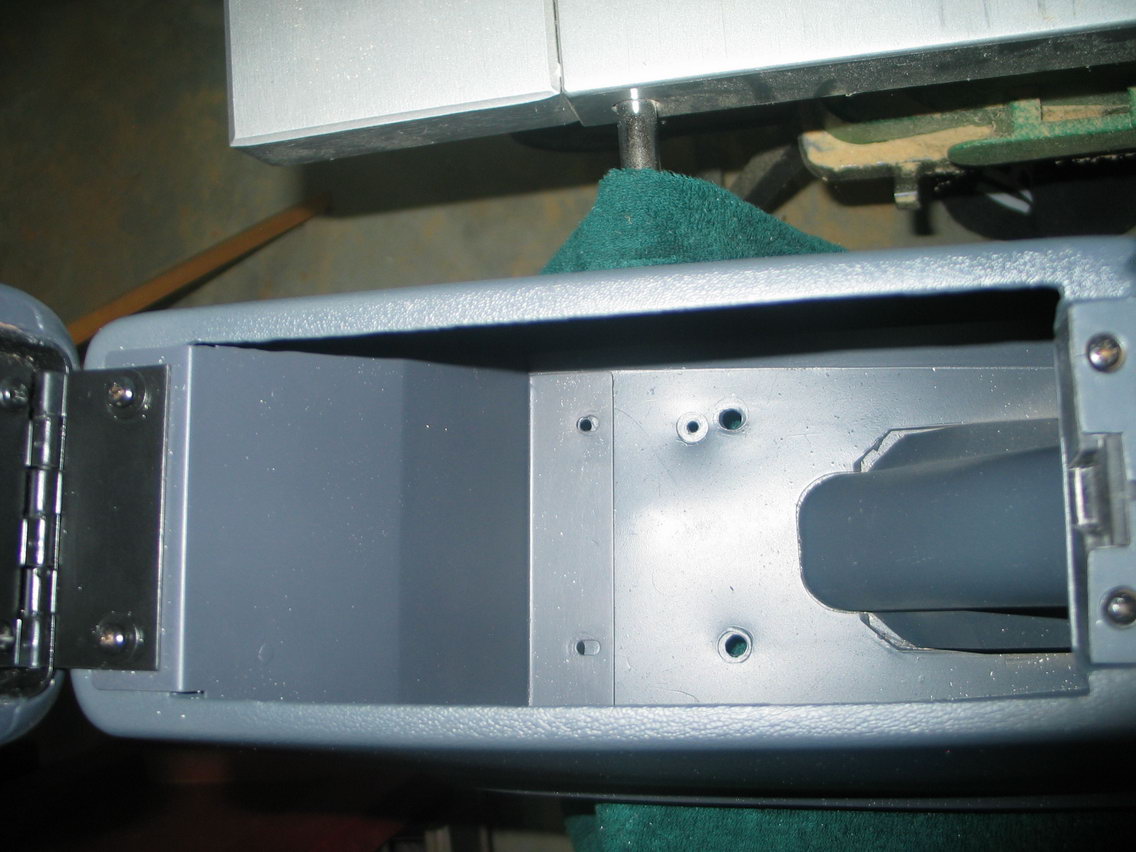
Next put in the large metal support bracket that goes under the ash
tray. Snap in the wiring harness to the driver's side of the
bracket. The two connectors for the lighter should be in the right
spot for the ash tray housing.

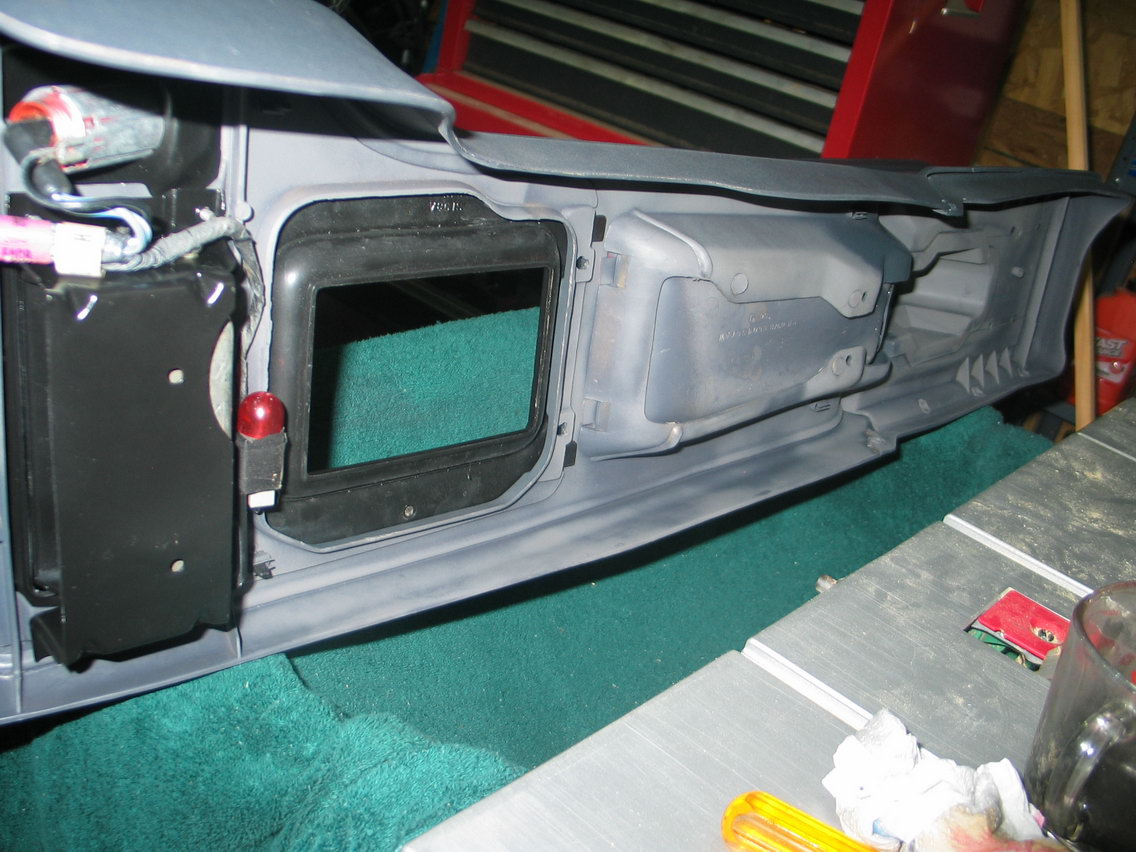
Install the ashtray housing. Connect up the two wires for the
lighter and screw the housing in place. The screws go on either
side of the ashtray opening to connect the housing to the lower bracket.
Pop in the ash tray and lighter.

Underneath, there are a few more loose ends. I used some
fabric black tape (not electrical tape) to tape the ash tray light in
place. That particular light always seems like it's ripped off
from every console I find and the plastic fastener broken. The
tape worked very well.

Install the small metal bracket for the wiring harness connectors.
Ok, one last tip/trick. Those three wiring harness connectors
should be attached to the small thin metal bracket at the front of the
console. Most of the clips that connect the connectors to the
bracket get busted.
It is a major pain to get Ford wiring
harness apart. Couple that with being secured into place on the
console and you can understand how people get frustrated and just yank
them out of that small metal strip. This also explains why that
bracket is MIA on many consoles.
The answer is to
use ZIP TIES! The top two connectors in the picture below are zip
tied in place. What's great about zip ties is that if you need to,
you can CUT them and replace them easily if ever the console needs to be
removed from the car. Cutting them, allows the harness to extend
and that gives more room to disconnect the connectors from the dash
harness.

Pop in the Shifter bezel and take some Glamour Shots!


Wow, my camera pics up the dust. Those white specs are indeed
just dust.


Yep, even did some painting underneath. I went light.
Paint is expensive!:
Some outdoor shots. My camera tends to make the grey look blue
when indoors.
<coming soon>
In Conclusion:
Final results are
impressive. Plus I think I can break down and reassemble one of
these in 3 minutes. Asleep.
DONE!
© 2003-2007 Michael Negus All Rights Reserved.
Send Email to:
info@ascmclarencoupe.com
asc McLaren and Fox Bodied Mercury Capri Cars